This is one of my favorite breads to make! It’s so soft and fluffy and tastes even better the next day. I’m not sure what happens, but the texture gets even softer the next day and the flavors develop even more.
If you’re completely new baking bread, this recipe is a bit difficult but not impossible! Hand kneading is tough but I find it more therapeutic than a chore. You can also use a stand mixer with a bread dough attachment to knead instead.
When baking, it’s important to mix the wet and dry ingredients separately. This ensures proper mixing of ingredients and will give you the best end result. I’ve also found that heating up the milk so it’s warm makes it so much easier to knead.
If you’re new to bread making, I’ll try to give you some tips I learned from previous failed recipes.
- Resting your dough is essential for flavor and allows the gluten to develop. Don’t rush this! Place it on a sunny windowsill. The preferred temperature is not too hot, but not too cold.
- Hand kneading takes time and should not be rushed. I really enjoy the process and hopefully you will too! The dough will be sticky at first, but over time it will come together with more kneading.
- If your dough is too sticky and doesn’t seem like it’s coming together when kneading, let it rest for 20 to 30 minutes. This process is called an autolyse where the yeast feeds on the sugar and the dough will become much easier to knead.
- Before baking the dough, you can choose to dust with a starch like potato or corn. You can also choose to brush with an egg wash. Another idea is to brush the dough with simple syrup as the buns come out of the oven. This will keep moisture in and make it a bit sweeter and sticky on top. It’s really up to you and what your preferences are.
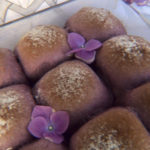
The Softest and Fluffiest Ube Milk Bread
Ingredients
Scale
Wet Ingredients
- 6 tbsp unsalted butter, melted
- 2 large eggs
- 1/2 cup whole milk, warm
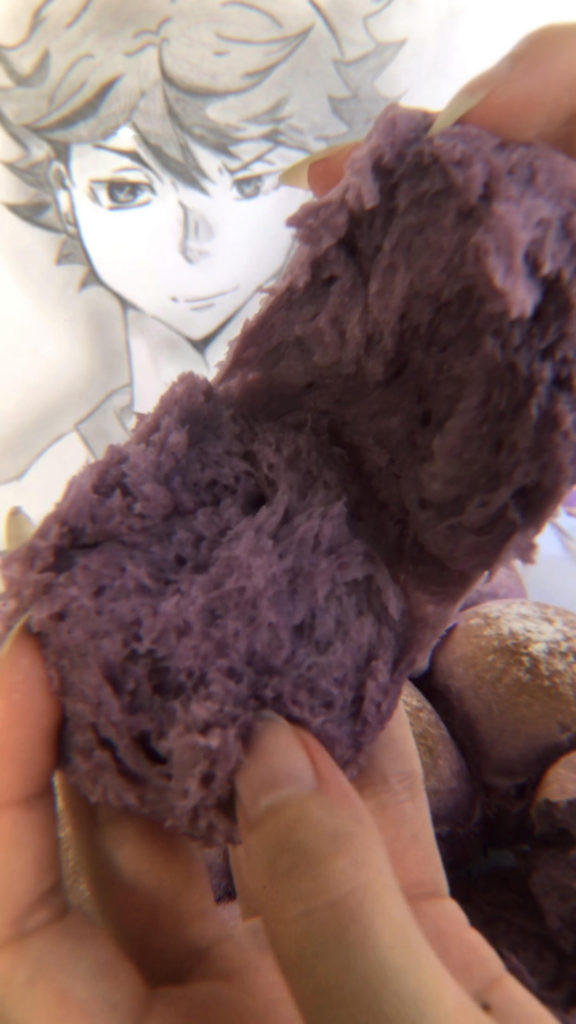
- Ube extract ((optional))
Dry Ingredients
- 2 cups all-purpose flour
- 1/4 cup white sugar
- 1 tsp salt
- 1 tbsp instant yeast
Extra
- Vegetable shortening (for greasing the pan)
- All-purpose flour (for dusting the pan)
- Potato starch/cornstarch or an egg wash
Instructions
- Melt the butter in a saucepan and warm the milk. You may do this in the same pan together.
- Mix all of the wet ingredients in a bowl. This includes the butter, eggs, milk and ube extract.
- In a separate bowl, mix all of the dry ingredients. This includes the flour, sugar, salt and yeast.
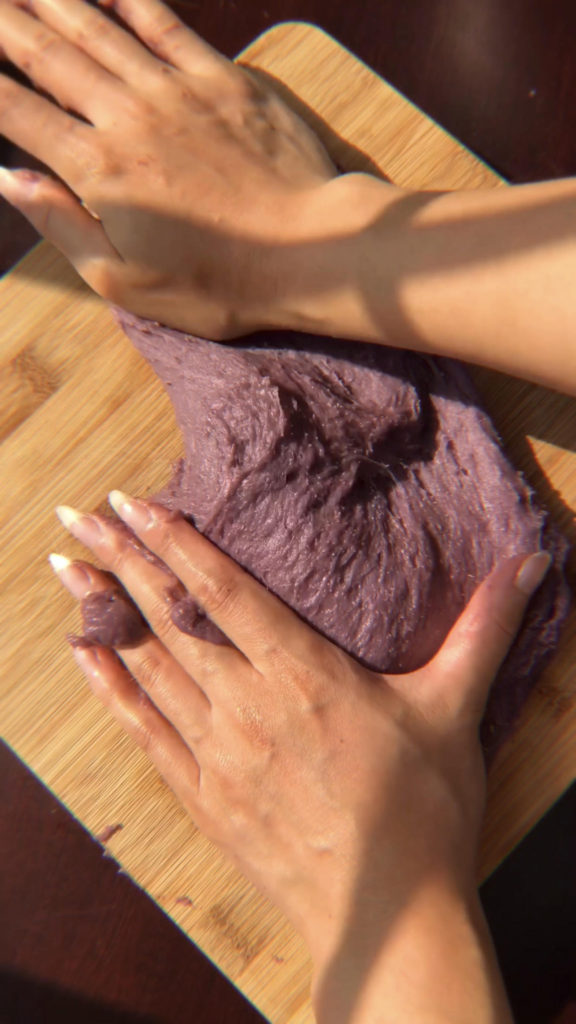
- Then, combine the wet and dry ingredients and stir. Soon, it will become difficult to stir and at this point you need to start hand kneading. Alternatively, you can use a stand mixed with a bread dough attachment to mix.
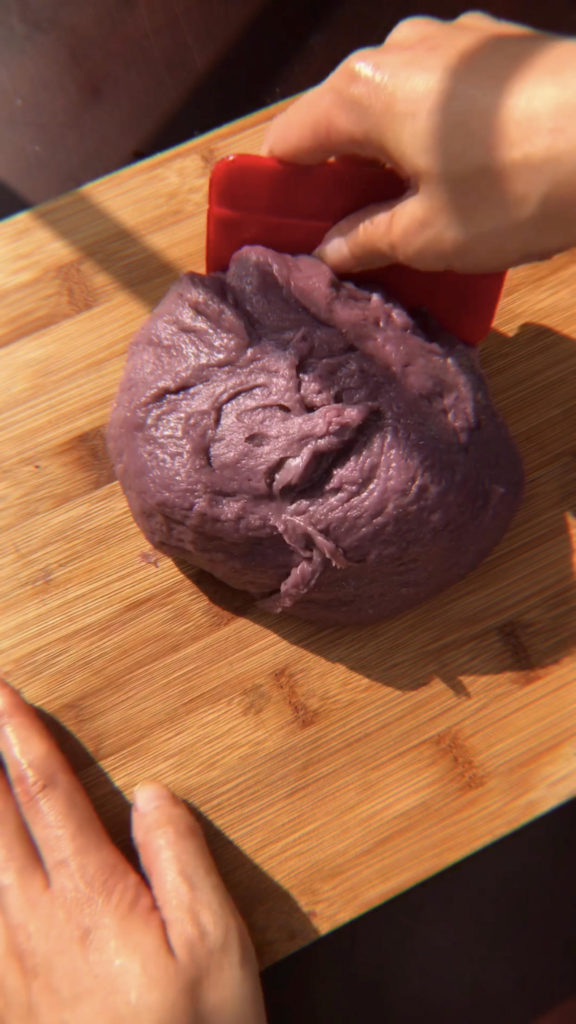
- If hand kneading, transfer the dough onto a heavy wooden cutting board (or use what you have) and begin to knead for 15 to 20 minutes. Use your dominant hand to push the dough away from you and continue to do this, using a silicone spatula to flip the dough over and scrape the board every once in awhile. The dough will start to become less sticky over time and come together. It’s tough work to hand knead but is essential to making perfect bread!
- After 15 to 20 minutes of hand kneading, test to see if it’s ready by poking it. It should spring back. Once your dough is ready, place it into a large bowl and cover with plastic wrap. Place this on a sunny windowsill for about 1.5 hours. It’s ready when it has doubled in size. The timing will also vary depending on the weather in your home and humidity!
- Transfer the dough onto a cutting board and punch the air out of it and knead for about 30 seconds.
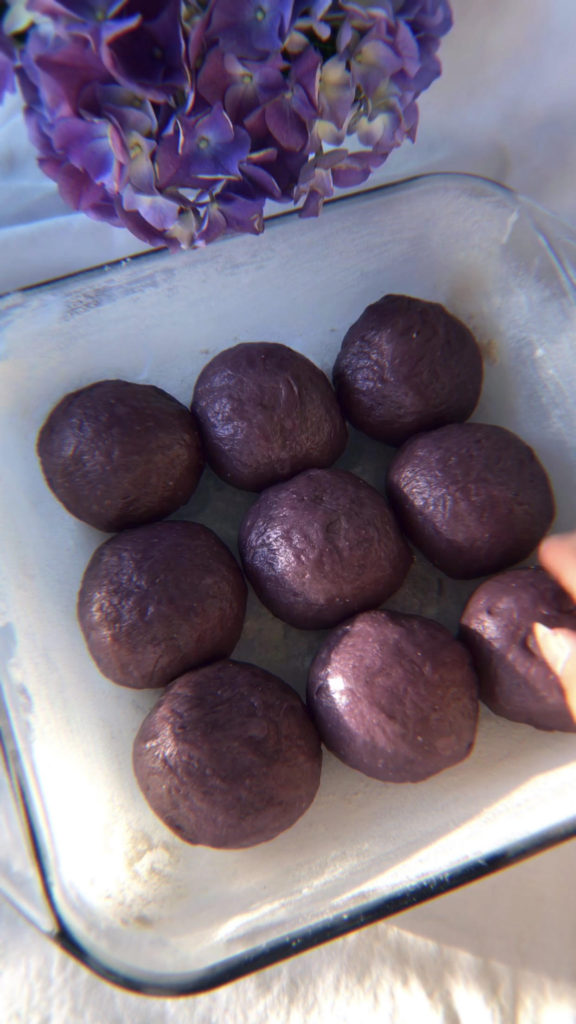
- Separate the dough into 9 equal pieces, using a scale if desired to get perfectly even sizes.
- Preheat oven to 350 degrees F.
- Grease and flour a square pan and place the milk buns in. Cover with plastic wrap and let it rest again on a sunny windowsill for 30 minutes. It should puff up a bit and will develop more flavor.
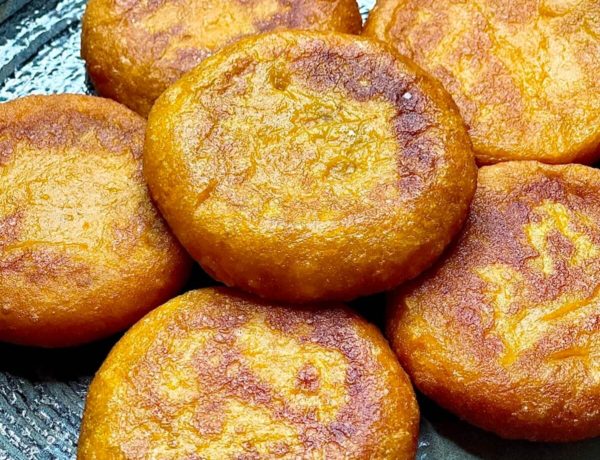
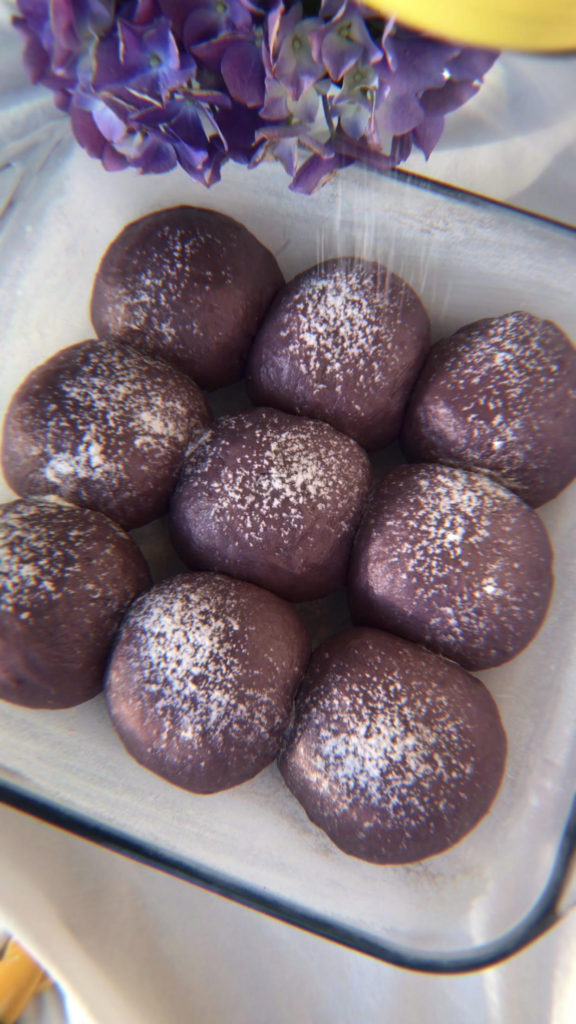
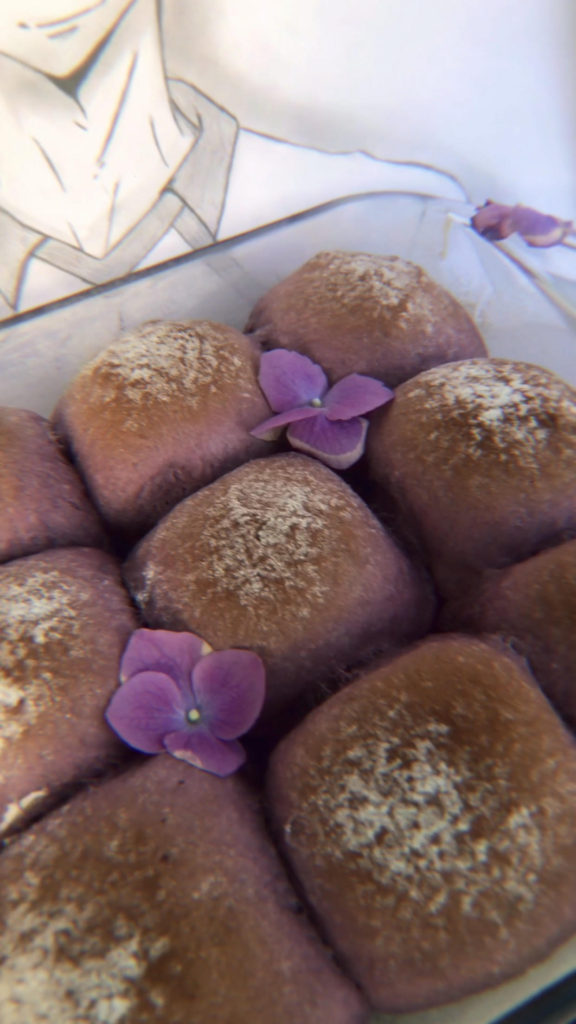
- Dust the rested milk buns with starch. Alternatively, you can brush wish an egg wash or use nothing at all. Bake for about 17 minutes on the middle rack. The milk bun tops should be golden brown.
- Let it cool and the insides will continue to cook slightly. These milk buns taste even better the next day as the flavors and texture develops more. Eat by itself, with jam or even butter. Enjoy!