The days of buying bottled teriyaki sauce are long gone. This delicious chicken teriyaki recipe will easily be your new favorite and have dinner ready on the table in 20 minutes!
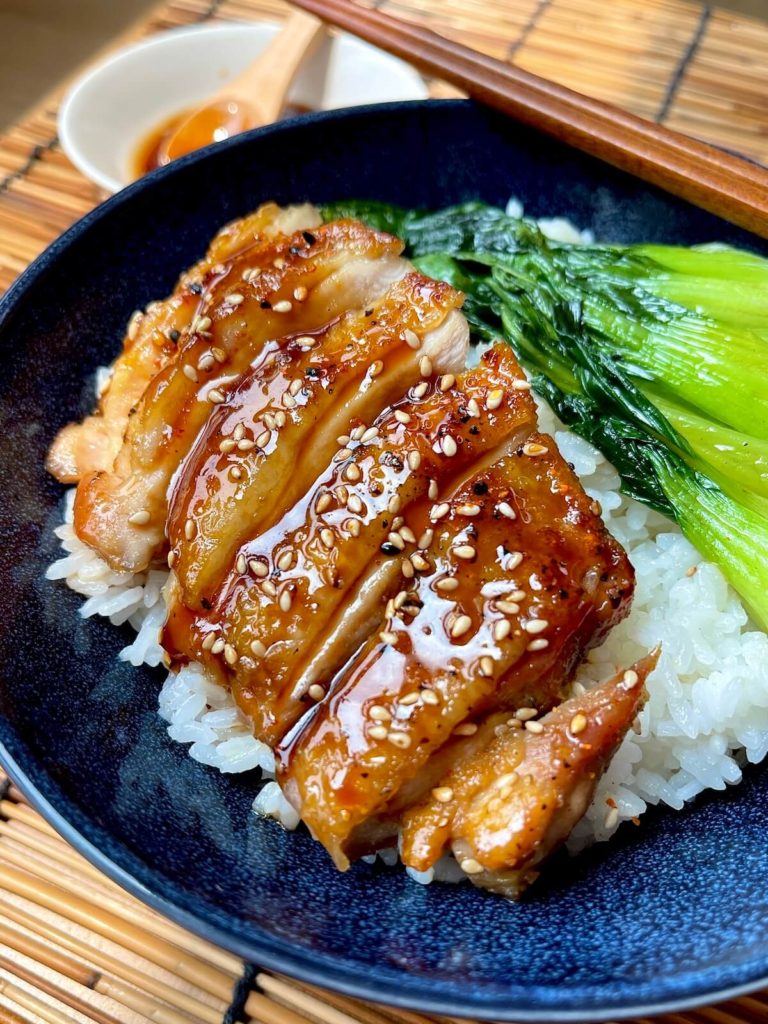
How to make chicken teriyaki
It’s really so simple to make this delicious meal!
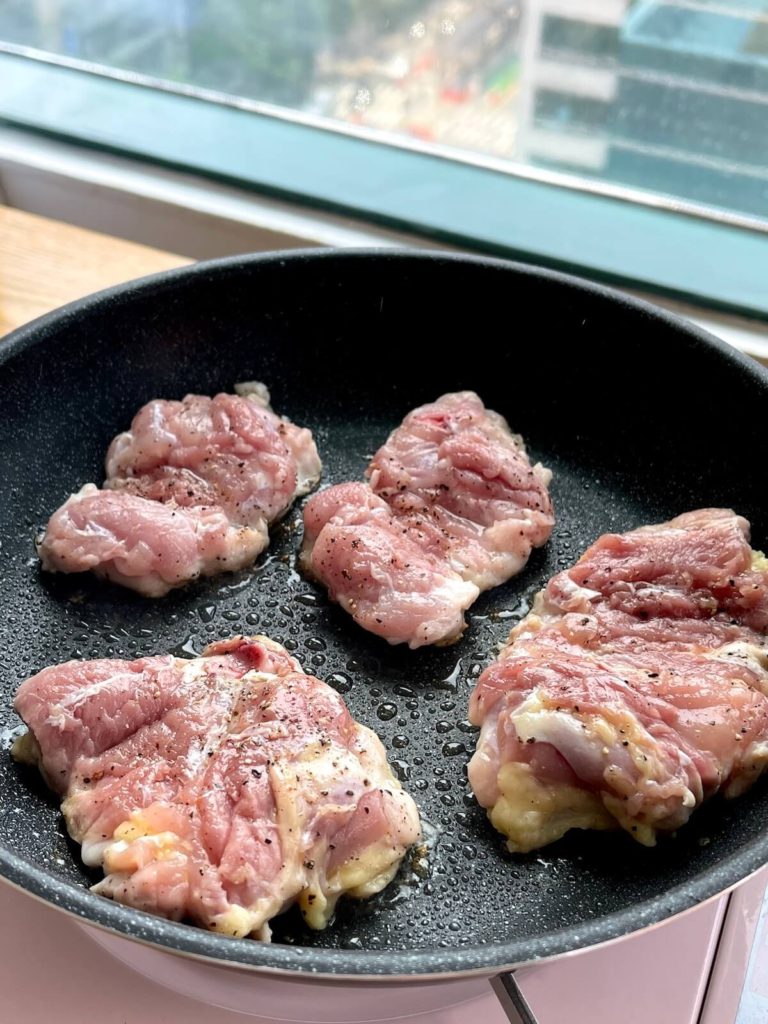
- Prep the chicken thighs by trimming off excess fat and removing any moisture. Cook, skin-side down, until browned and finish on the other side. Then, remove from the pot and set aside.
- There is a ton of flavor in the pot from the chicken and we’re not going to let it go to waste. Soak up all of that flavor by tossing in your favorite vegetable. Add a splash of broth to soften the veggies and add more flavor!
- Then, heat the sauce mixture of equal parts mirin, sugar, sake and soy sauce. It will quickly begin to thicken up. Add the chicken back to the pan to soak up all of that sauce, then plate and enjoy!
Teriyaki sauce
The difference in taste between store-bought teriyaki sauce and homemade teriyaki sauce will amaze you. It’s SO much better to make your own teriyaki sauce at home and what’s great is you know exactly what’s going in it. On top of that, it’s easy to make and requires just a few ingredients.
Here’s what you’ll need:
- mirin
- soy sauce
- sugar
- sake
I used 3 tablespoons of each ingredient for 4 chicken thighs, which left me with plenty of sauce to drizzle on top.
All of these ingredients are staples in Asian cooking and can be found at any Asian grocery store. Substitute coconut aminos instead of soy sauce for a gluten-free version and omit sake if you don’t have it. Try to use it if you can, though, because it definitely elevates the taste!
Keep in mind that traditional Japanese teriyaki sauce is different than what you may be used to. It’s not as heavy and thick as the bottled variety. You’ll know the sauce is ready when it glazes the back of a spoon. If you prefer a very thick sauce, though, simply add in a pinch of cornstarch mixed with water when heating.
The secret to extra juicy chicken teriyaki
You probably know this, but chicken thighs will give you extra juicy chicken because of the higher fat content. It’s also much more forgiving if you happen to overcook it. Chicken breast, on the other hand, is much less forgiving. I’ve tried this recipe with both chicken thighs and breast, though, and both taste great! So, just use whichever you prefer or have on hand.
Make sure not to overcook the chicken if you’re using breast meat and cook with the skin on! Even if you don’t plan on eating the skin, it’s crucial to cook with it on. The fat acts as a barrier when cooking and protects the meat from becoming dry. Also, always cook with the skin-side down first, then finish cooking on the other side for perfectly cooked chicken.
Storing leftovers
Chicken teriyaki stores very well in the fridge for up to 4 days. Store the sauce in a separate container so you can pour it on top later. Reheat the chicken on low on the stovetop and add a splash of broth for extra moisture.
Complete your meal with these side dishes!
- shrimp fried rice – make shrimp fried rice just like they do at the restaurant!
- Japanese potato salad – enjoy a refreshing subtle and sweet tang in this staple side dish
- crab rangoon dip – creamy, cheesy and full of crab

Chicken Teriyaki
- Total Time: 20
- Yield: 4 servings 1x
Description
The days of buying bottled teriyaki sauce are long gone. This delicious chicken teriyaki recipe will easily be your new favorite and have dinner ready on the table in 20 minutes!
Ingredients
- 4 chicken thighs, skin-on
- salt + pepper
- 3 tbsp soy sauce
- 3 tbsp mirin
- 3 tbsp sake
- 3 tbsp sugar
- your choice of vegetables (bok choy, broccoli, green beans)
- scallions
- sesame seeds (optional)
- shichimi togarashi, or Japanese red pepper flakes (optional)
Instructions
- Start by prepping the chicken thighs. Trim excess fat if needed, salt & pepper both sides and pat dry with a paper towel to remove moisture. The thighs will release moisture a few minutes after salting, so make sure to pat dry again before cooking.
- Place the chicken thighs in a cold, non-stick pan skin-side down. Gradually increase the heat to medium-high and let it cook until the fat renders, about 5 to 6 minutes. Try not to disturb the chicken while cooking – you want to let it get brown and crispy!
- In the meantime, prepare the sauce by mixing together the soy sauce, mirin, sake and sugar. Once the chicken is brown and crispy on the skin-side, flip it over and cook for about 2 to 3 minutes. The chicken should not be fully cooked because it will cook again later. Remove from the pan and set aside.
- There should be some oil and lots of flavor in your pot from the chicken! We’re going to use that to make a delicious side of veggies. Make sure your veggies are clean and dry, then add it to the pan on medium to medium-high heat. Stir with a spatula for about a minute, then add a splash of chicken broth (or water) to soften. Season with salt, garlic powder, etc. Remove the veggies and clean the pan with a damp paper towel. There should be no residue left in the pan.
- Next, pour the sauce mix into the clean pan and gently bring to a boil. Adjust the heat as needed and stir continuously. Add the chicken back to the pan once the sauce begins to thicken and flip back and forth on both sides to soak up the flavor. Remove from the pan once the sauce reaches your desired thickness.
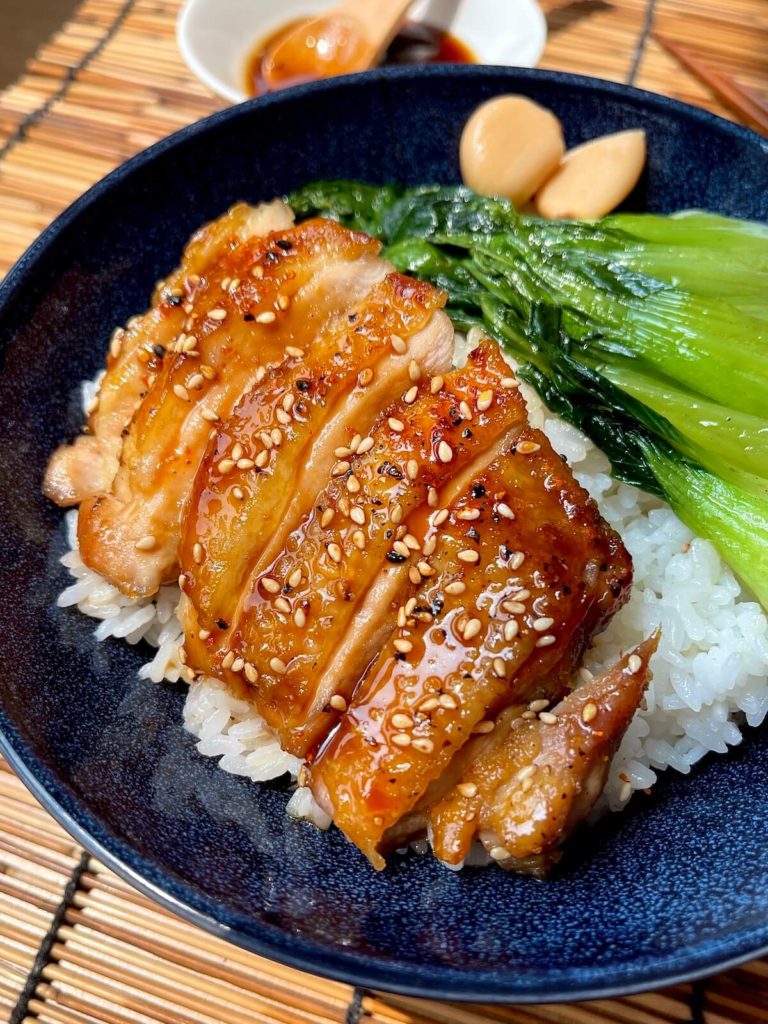
- Time to prepare the chicken teriyaki bowls – scoop out a bowl of white rice, add the veggies and chicken, then drizzle with the leftover sauce. Sprinkle with sesame seeds and/or shichimi togarashi (Japanese red pepper flakes) & enjoy!
- Prep Time: 5
- Cook Time: 15
